

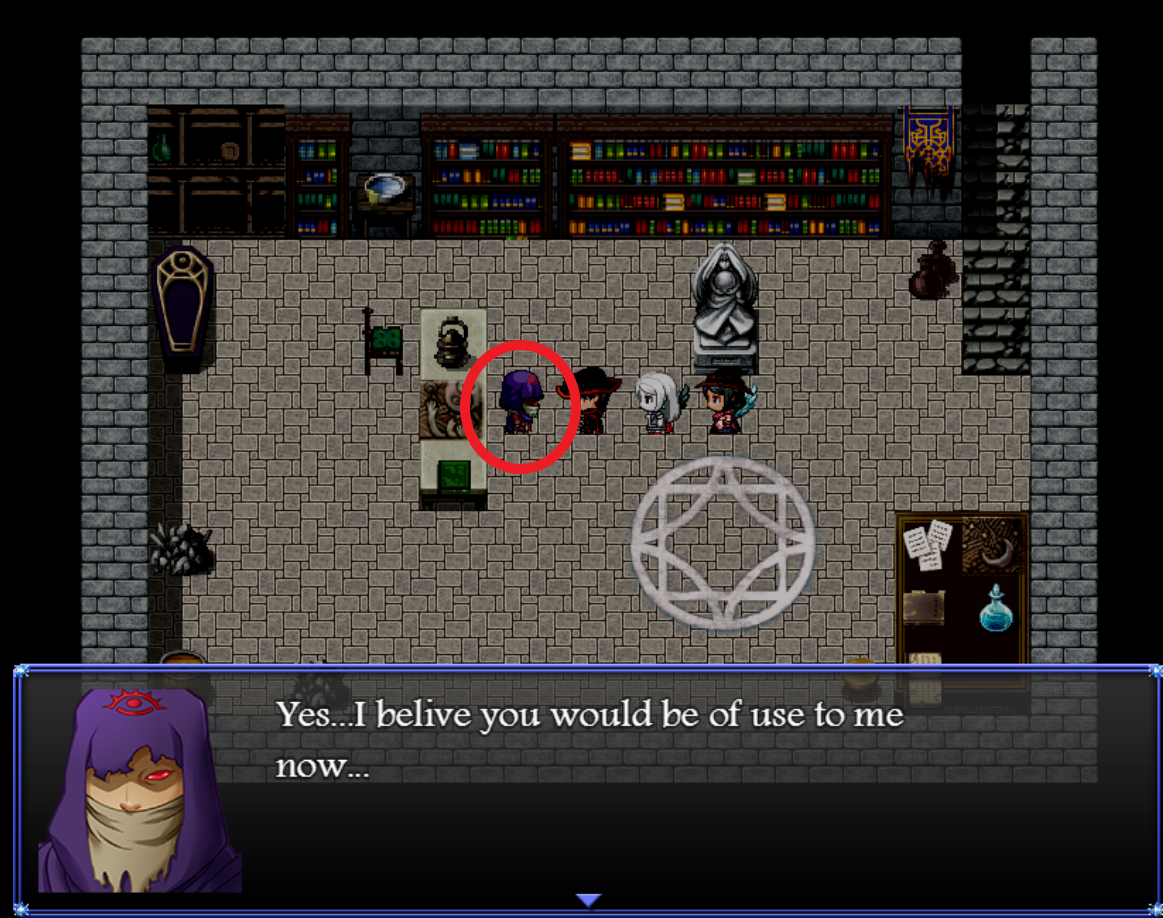
 After you've learned some moves, speak with the mage again and he will give you a key to the crypt,
which is found in the cemetery, just right to where his shed is located and task you with finding out any clue as to how to get into the castle.
After you've learned some moves, speak with the mage again and he will give you a key to the crypt,
which is found in the cemetery, just right to where his shed is located and task you with finding out any clue as to how to get into the castle.
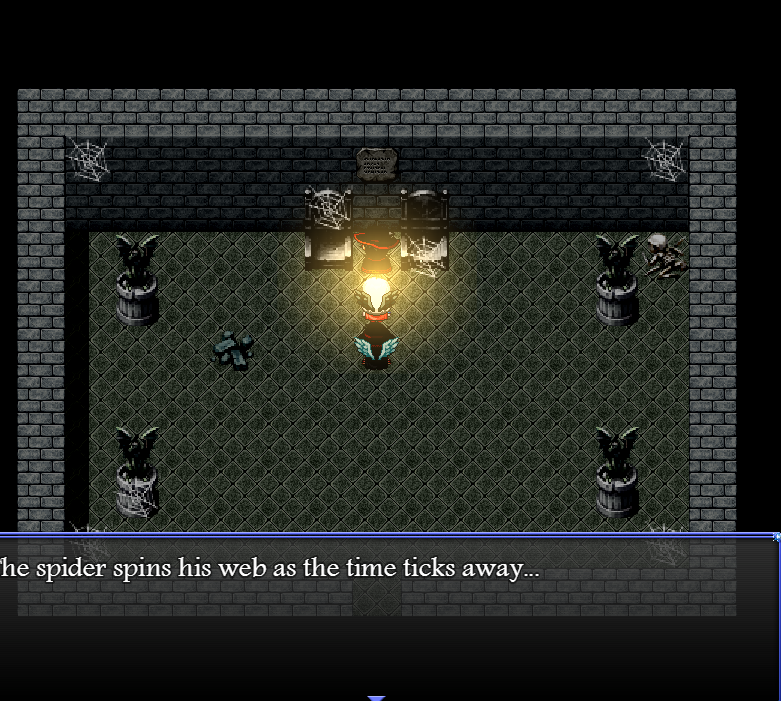
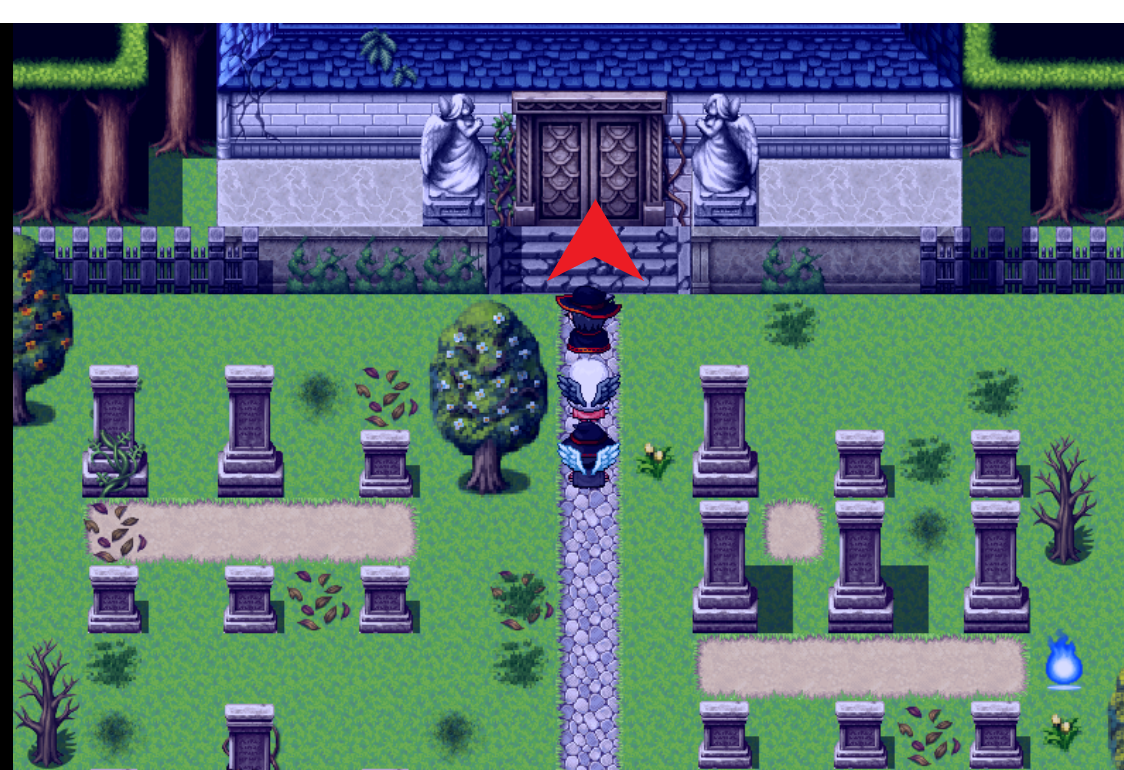 You now have access to the crypt, enter it at your own peril...
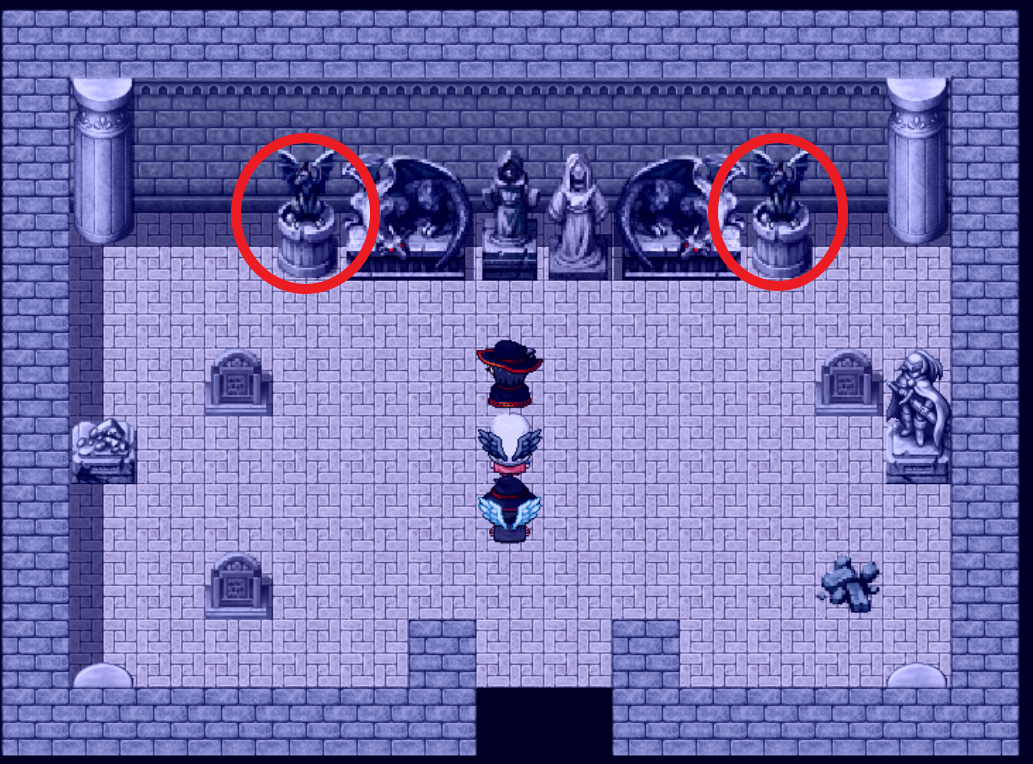 You won't find much, but if you follow Nia's words of wisdom and fiddle around the chamber
you will find out that the tails of the gargoyles statues can be pulled and they will reveal a secret passage...
You won't find much, but if you follow Nia's words of wisdom and fiddle around the chamber
you will find out that the tails of the gargoyles statues can be pulled and they will reveal a secret passage...
 Once you have entered the crypt properly, you will need to solve the riddles offered by the two chambers found along the corridor in order to
gain access to the lower levels of the tomb.
Once you have entered the crypt properly, you will need to solve the riddles offered by the two chambers found along the corridor in order to
gain access to the lower levels of the tomb.
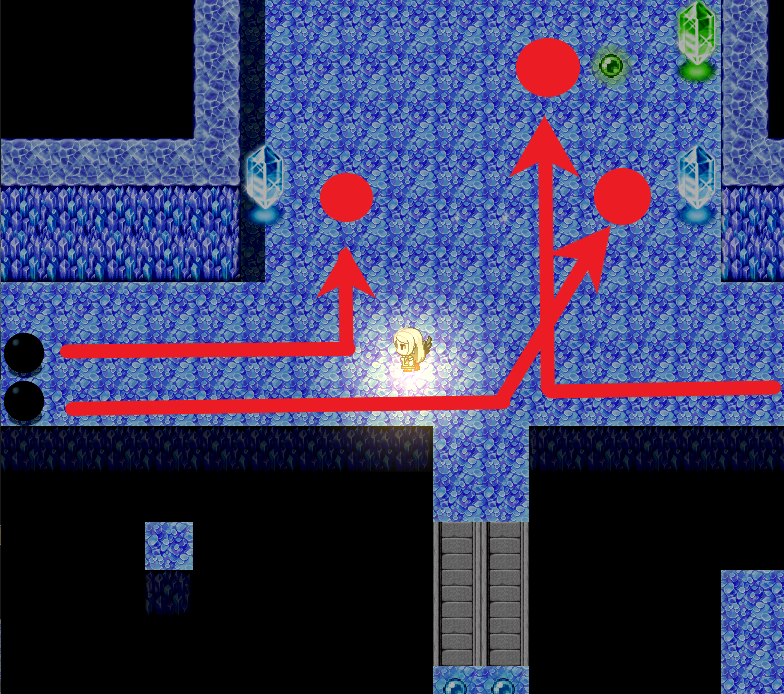
 In the first chamber, you will need to catch the real dancing light and push it into the big
red crystal in order to activate the room's switch.
In the first chamber, you will need to catch the real dancing light and push it into the big
red crystal in order to activate the room's switch.
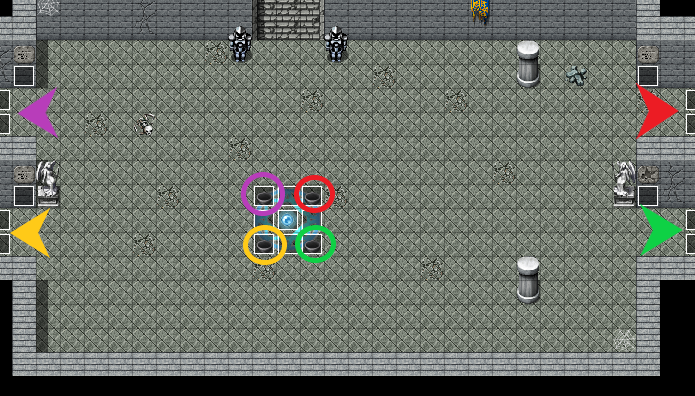
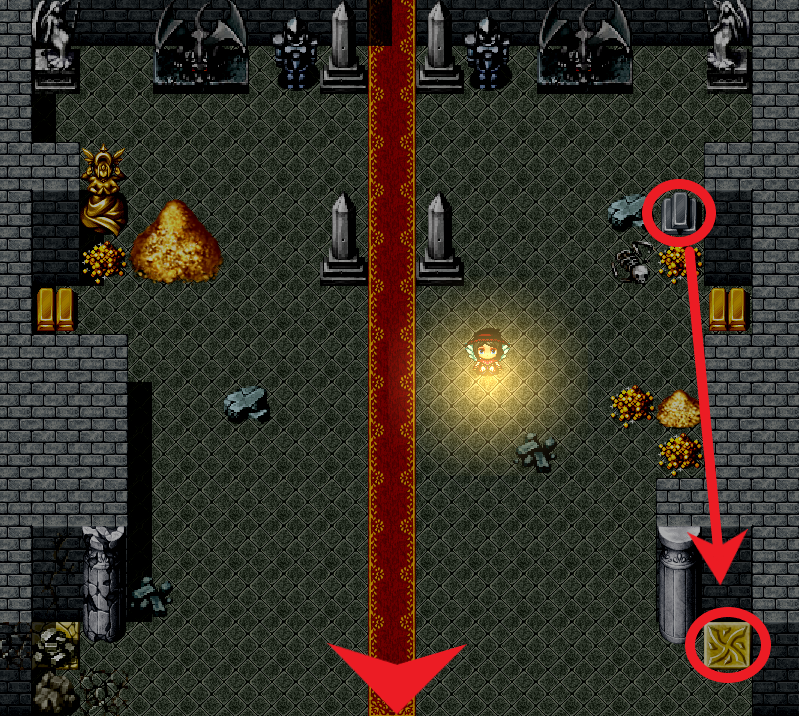
 To complete the second chamber you will have to activate the gargoyles in a specific order,
the gargoyle covered with a web is the first, from him, as the riddle says, you will have to activate them all in a clockwise order.
To complete the second chamber you will have to activate the gargoyles in a specific order,
the gargoyle covered with a web is the first, from him, as the riddle says, you will have to activate them all in a clockwise order.
 After you managed to descend deeper into the catacombs, you will find a large room with a
teleportation stone at its center. You will have to check out all of the tombs for the power sources, this can be done in any order so take your pick.
After you managed to descend deeper into the catacombs, you will find a large room with a
teleportation stone at its center. You will have to check out all of the tombs for the power sources, this can be done in any order so take your pick.
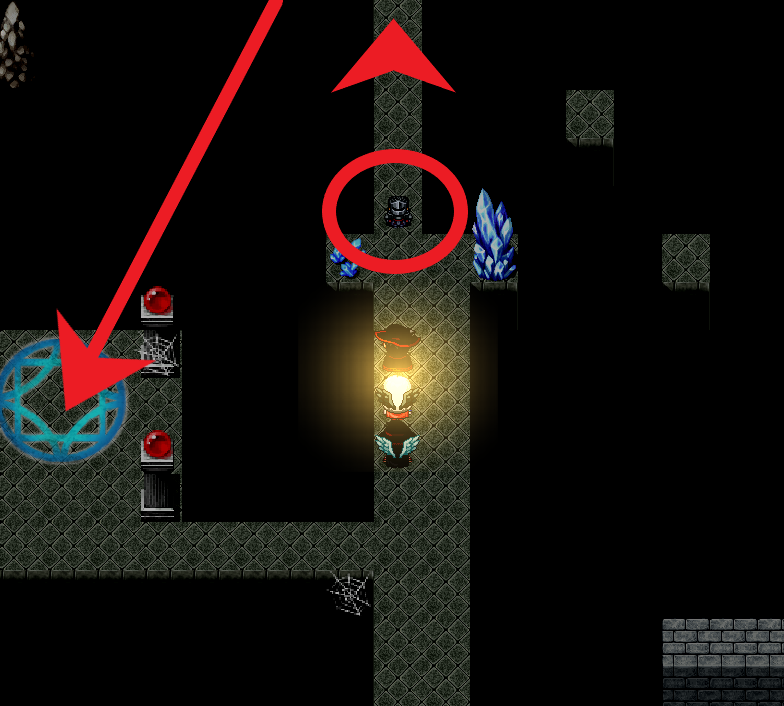 In the Crystal Tomb, you will have to defeat the guardian of the bridge and inspect the strange aura that
prevents you from getting in further. After that you will have to go to the magic circle to disable that aura...
In the Crystal Tomb, you will have to defeat the guardian of the bridge and inspect the strange aura that
prevents you from getting in further. After that you will have to go to the magic circle to disable that aura...
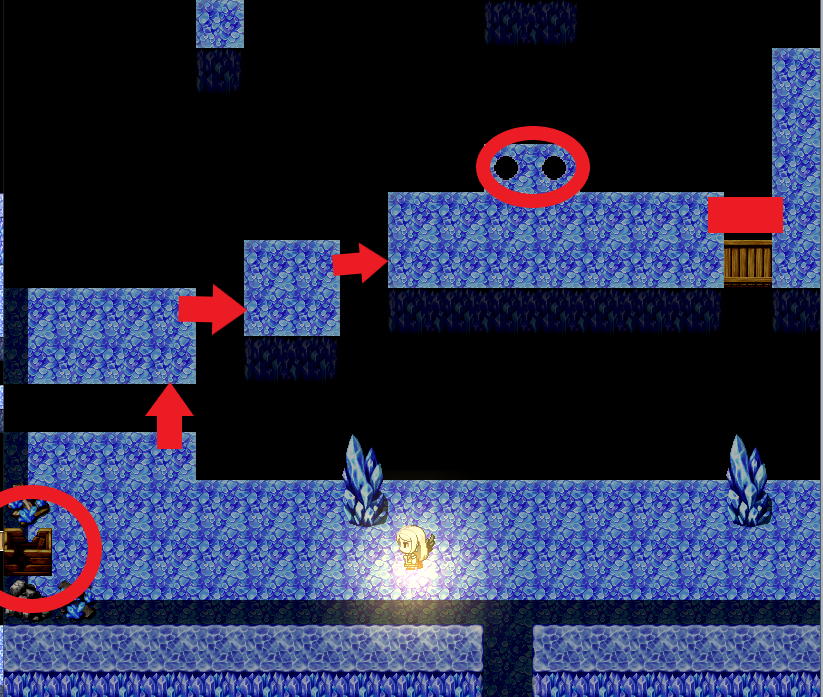 To cross over the seemingly impassible chasm you will have to rip out the bottom of that leftover
materials box and then use that as a platform to walk across. You will have to pick it up again and place it in a new location each time you want to
cross. Watch out that when you reach the socket emplacements, you will have to carry the gems back with you and they can be heavy, heavy enough to crack your
platforms when you transport them to their place.
To cross over the seemingly impassible chasm you will have to rip out the bottom of that leftover
materials box and then use that as a platform to walk across. You will have to pick it up again and place it in a new location each time you want to
cross. Watch out that when you reach the socket emplacements, you will have to carry the gems back with you and they can be heavy, heavy enough to crack your
platforms when you transport them to their place.
 While you can try to run and dodge all the projectiles thrown at you by the deadly crystals, a smarter move
would be to use the onyx spheres as cover.
While you can try to run and dodge all the projectiles thrown at you by the deadly crystals, a smarter move
would be to use the onyx spheres as cover.
 In this tomb you will have to activate the two switches found at the sides of the map. One this is done
you will be able to open the two dors one by one, just be careful that once you open one, if you tarry for too long it will close back leaving you trapped,
you should also watch out for the fires...
In this tomb you will have to activate the two switches found at the sides of the map. One this is done
you will be able to open the two dors one by one, just be careful that once you open one, if you tarry for too long it will close back leaving you trapped,
you should also watch out for the fires...
 After you manage to get past the spike room you will find out that you can activate the bridge over the
chasm, but it will deactivate once you leave the platform, to overcome this, you must find the silver bars located in the room and place them on the platform
(do not touch any gold or you will die),
once you manage to get past it, find your way out of the labyrinth and proceed to the next room.
After you manage to get past the spike room you will find out that you can activate the bridge over the
chasm, but it will deactivate once you leave the platform, to overcome this, you must find the silver bars located in the room and place them on the platform
(do not touch any gold or you will die),
once you manage to get past it, find your way out of the labyrinth and proceed to the next room.
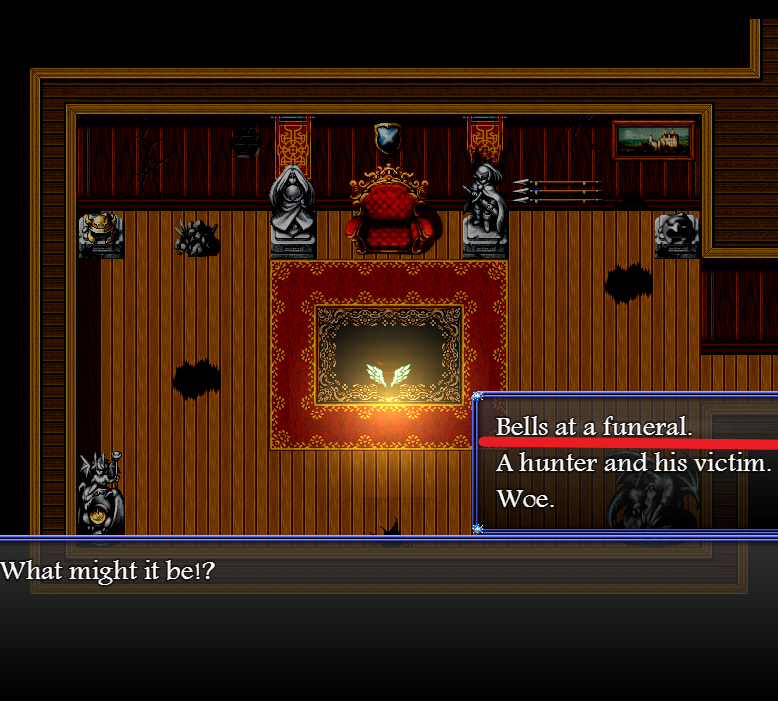
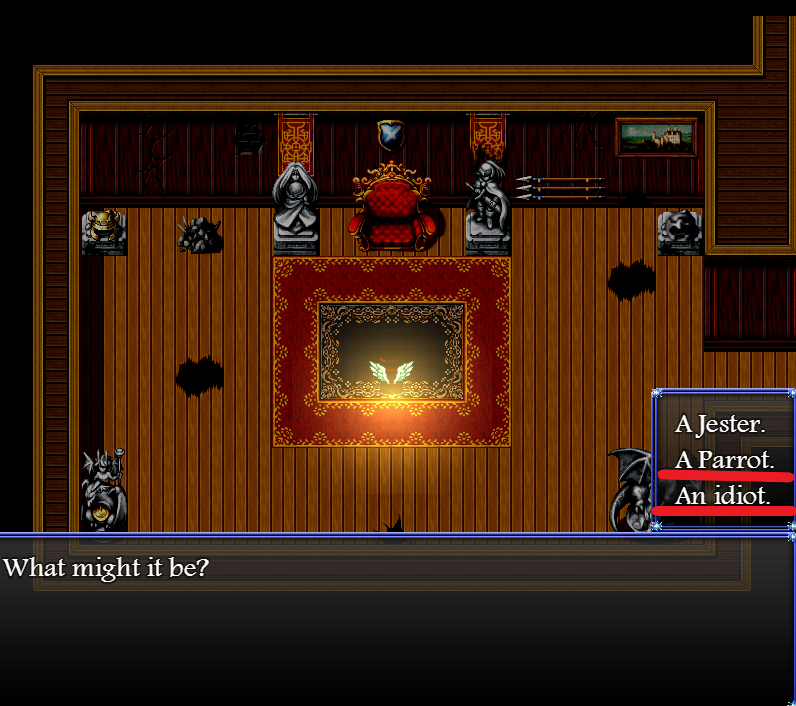 Play a game of riddles with the ghost and win!
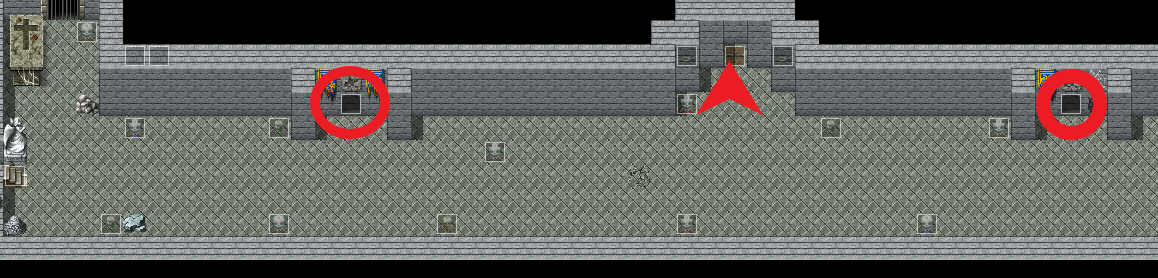
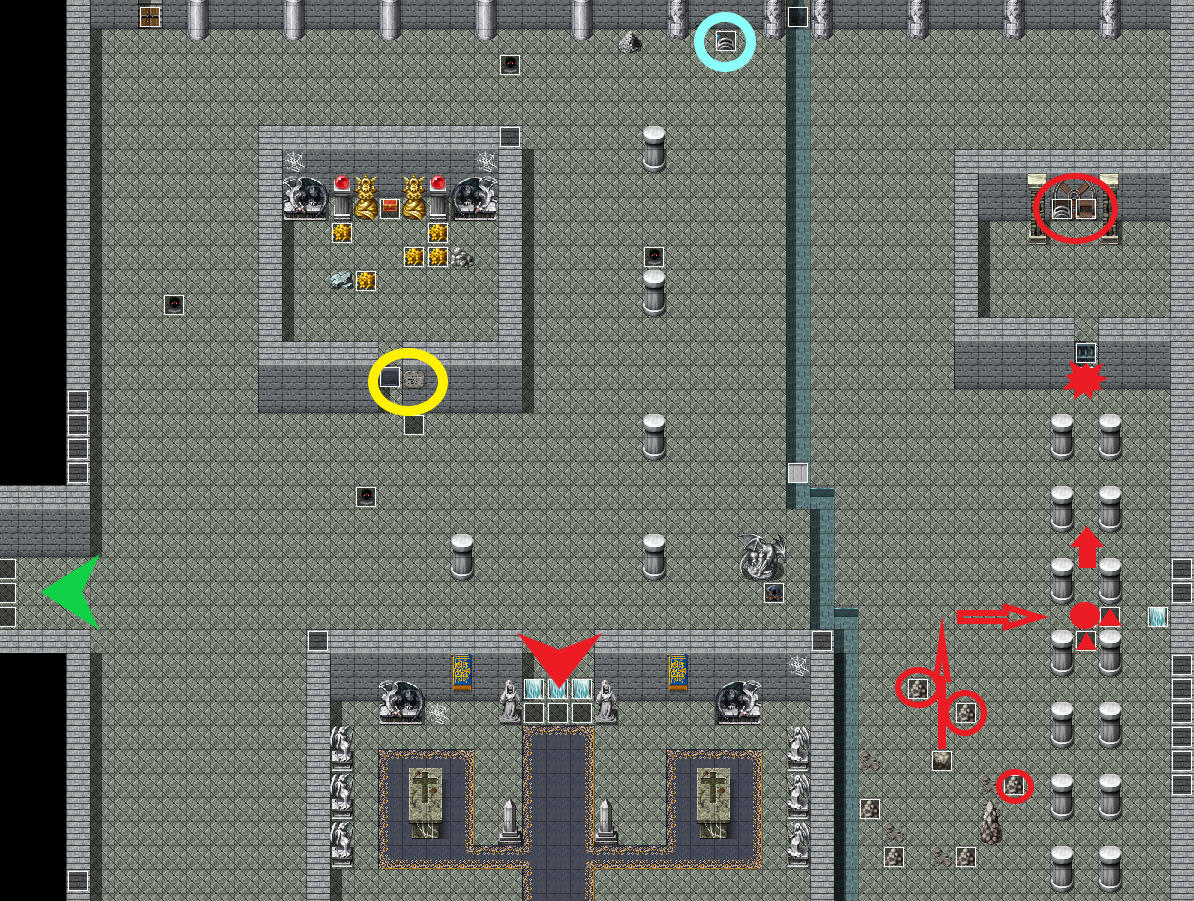 Probably the most difficult tomb and perhaps the reason this guide was born, is this one. Creatures found within it
will actively chase you down and you should avoid fighting them at all costs, as a black curse on your character cannot be removed so easily and can easily spell
doom on your next encounter. First things first you must go into the room to the left(green arrow) and retrieve the shovel from there, next up you may want to go to the
uppermost section of the map and pull the lever (blue circle) to place a bridge over the canal, next up if you cross the bridge and try to fiddle withe the boulder or the gravel there,
you might figure out that you need to make a water cannon of sorts to break through the rusted dor that leads to the water control system, to do so, you will have to
find something to carry all that gravel with, fortunately you can find some tapestry, tucked away in the treasury room(yellow circle), unfortunately the dor to that room is locked
by a cipher, if you read the placard near it you will find out clues on how to solve that cipher. One remainder and some numbers, you may figure out some pattern between them,
the third one is the sum of the previous two plus one, use this rule to figure out the next one, the cipher is only made out of three numbers to trick you and the first digit should
be left 0 as it is. After you robbed the treasury, go at the gravel mounds(red circles), make a sack out of that tapestry and proceed to use the power of the water jets to your
advantage! Once you broke through use that shovel as a new lever in order to stop all the water sprouts and proceed to the main chamber(red arrow) where you will have to bluff and
lie according to your chosen class.
Probably the most difficult tomb and perhaps the reason this guide was born, is this one. Creatures found within it
will actively chase you down and you should avoid fighting them at all costs, as a black curse on your character cannot be removed so easily and can easily spell
doom on your next encounter. First things first you must go into the room to the left(green arrow) and retrieve the shovel from there, next up you may want to go to the
uppermost section of the map and pull the lever (blue circle) to place a bridge over the canal, next up if you cross the bridge and try to fiddle withe the boulder or the gravel there,
you might figure out that you need to make a water cannon of sorts to break through the rusted dor that leads to the water control system, to do so, you will have to
find something to carry all that gravel with, fortunately you can find some tapestry, tucked away in the treasury room(yellow circle), unfortunately the dor to that room is locked
by a cipher, if you read the placard near it you will find out clues on how to solve that cipher. One remainder and some numbers, you may figure out some pattern between them,
the third one is the sum of the previous two plus one, use this rule to figure out the next one, the cipher is only made out of three numbers to trick you and the first digit should
be left 0 as it is. After you robbed the treasury, go at the gravel mounds(red circles), make a sack out of that tapestry and proceed to use the power of the water jets to your
advantage! Once you broke through use that shovel as a new lever in order to stop all the water sprouts and proceed to the main chamber(red arrow) where you will have to bluff and
lie according to your chosen class.
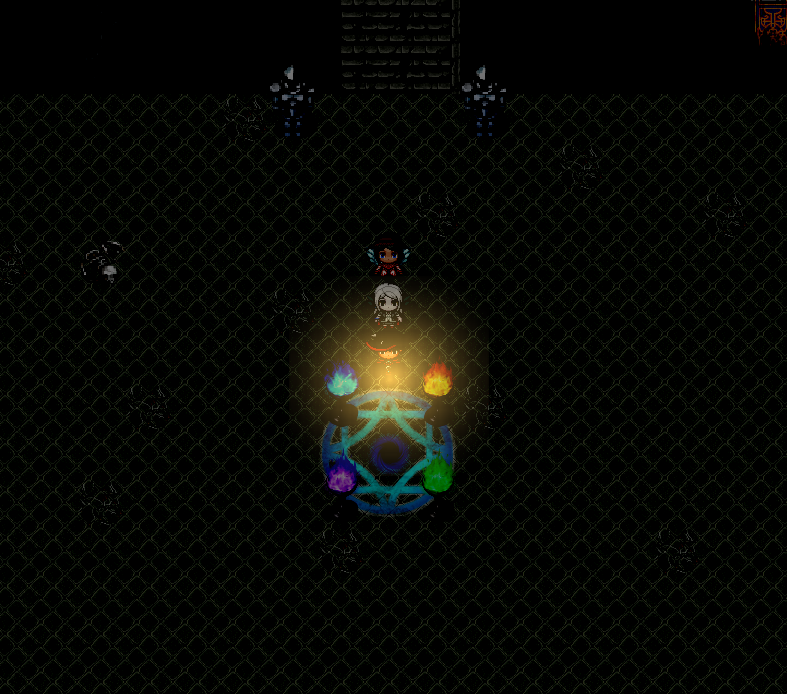 Once you have acquired all of the incense and casted it into its respective censer, you may proceed to defeat the master
of the crypt, watch out he is the first proper boss of the game and he can wipe the flor with any battle worn party.
Once you have acquired all of the incense and casted it into its respective censer, you may proceed to defeat the master
of the crypt, watch out he is the first proper boss of the game and he can wipe the flor with any battle worn party.